In early summer of 2025, I took a big fall while skating, and “spent” my helmet. So I needed a new one, so I thought — might as well give the new one a paint job that I liked. In the rest of this post I talk about the process of painting and sealing it.
Meaning
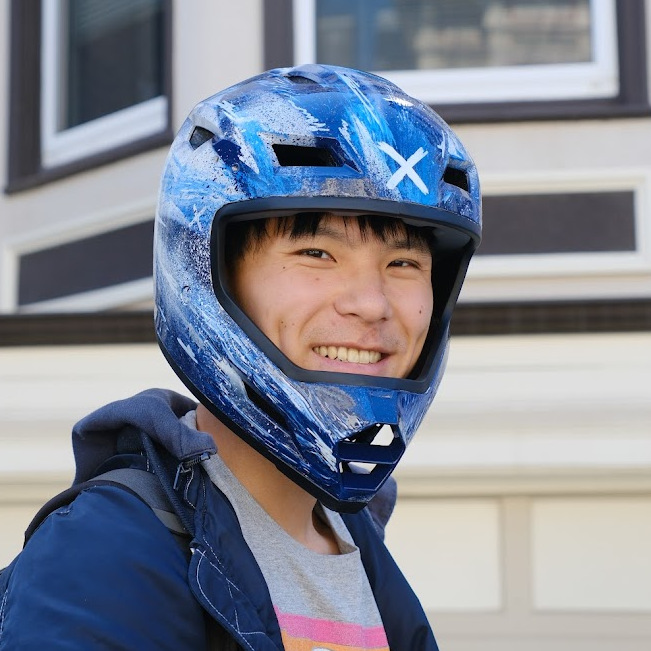
I wanted the helmet to remind me of the feeling of being on afterburner. I imagine the streaks of white and blue tearing across each other like aircraft ripping through the sky.
The three X's were put on because they just felt fun haha — but in retrospect I could maybe guess that it represents that even if I get three-strikes, even if it might seem like the end, you can still push forward.
Building it
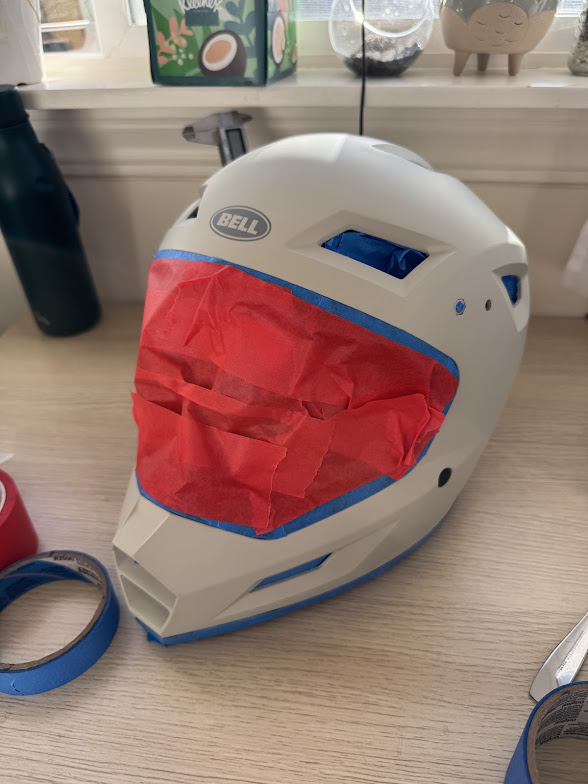
Masking was the first step, and extremely tedious, I knew I wanted light colors and I didn’t want it to unevenly land on the inner foam. I also had bad experience with foam being melted by spray paint propellant (unsure if it would happen here), but wanted to be cautious.
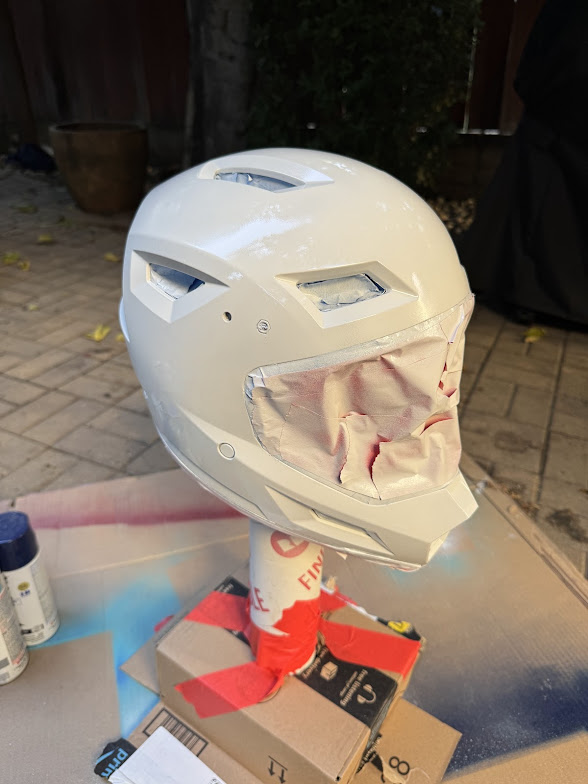
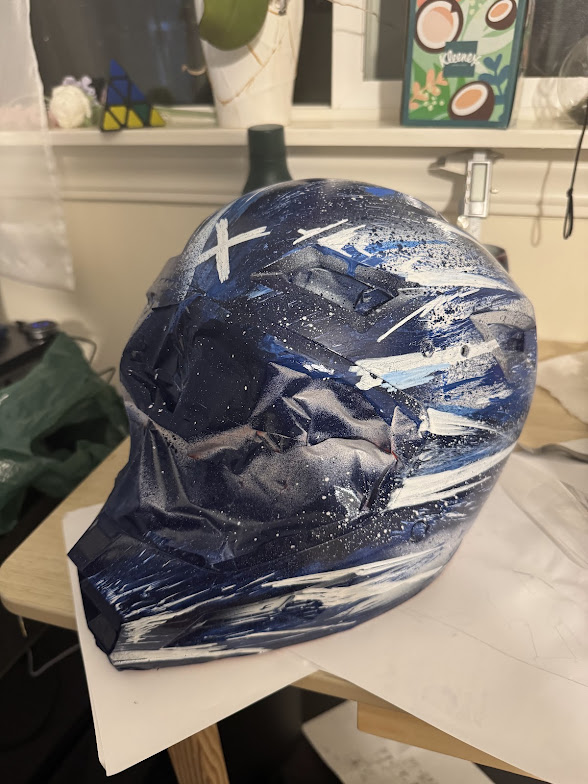
On the right, I built a stand out of sticking poster tube into the bottom of a cardboard box. The large diameter of the tube helps give a generous base for holding the helmet from the inside.
The base white coat was less so for primer, and mostly because I wanted a white base, and streaks of blue on top.
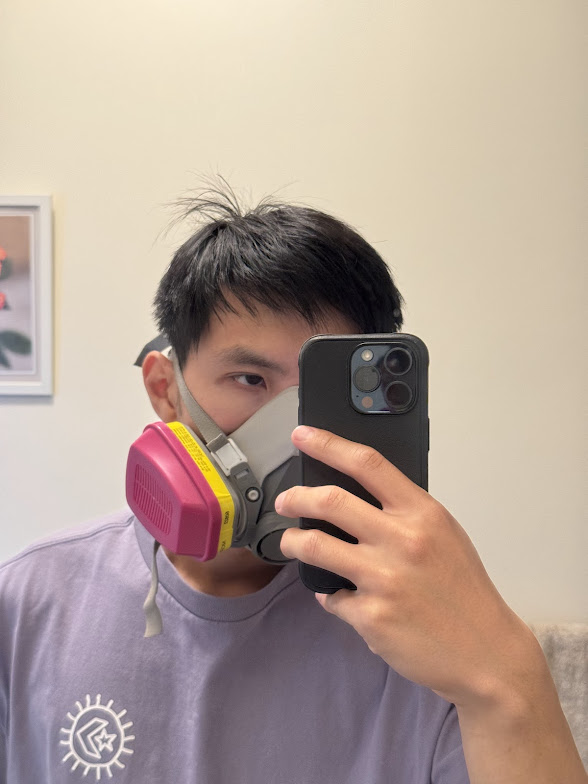
I own a gas mask, so might as well use it. I did buy 3M P100 60926 Cartridges though.
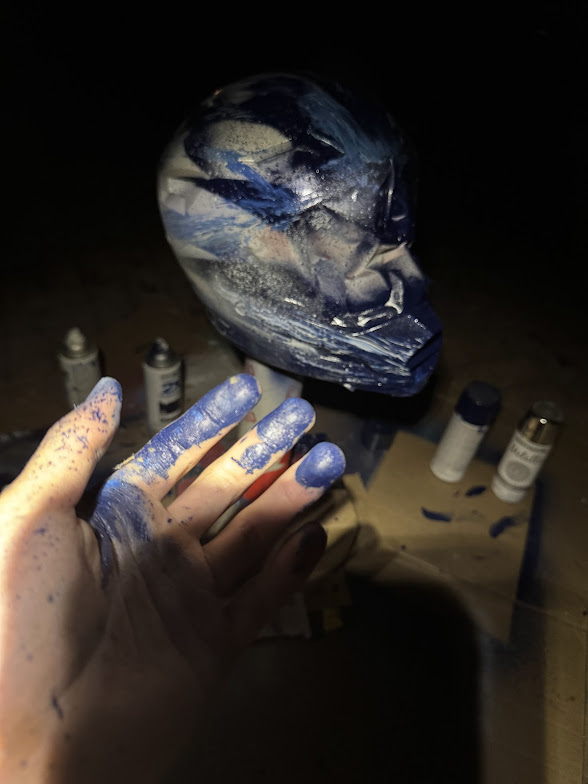
I freeballed the hell out of this paint job. I used a lot of cardboard shields and lot of corners of cardboard as a paint brush. Probably should have worn gloves. Oh well.
My primary techniques were:
- Cut a triangle out of a piece of cardboard, use it as a fuzzy spray mask
- Spray a bunch of excess paint onto a edge piece of cardboard, then smear it across the helmet
- With various stages of wetness of a base coat, drag cardboard to create a sort of blend between scoring/blended textures.
- Spray extremely slowly to create a spattering effect
- Standard spray fast arcing
- Go back over with acrylic marker to create squiggles, highlights, and the front side X’s.
The inspiration to combine a bunch of different techniques came from this instagram post: https://www.instagram.com/reel/DLbwRyjI1J0/
First pass looks pretty good!
The final step in this process was to put a protective (and cosmetic) clear coat. Due to the highly curved nature, I opted to use SprayMax 2k Clear Coat. Extensive online reddit and YT research said that I should wait 7 days before putting on the clear coat, so I made sure to do that.
The final spray coat really makes the colors pop in the sun and it makes me very happy.
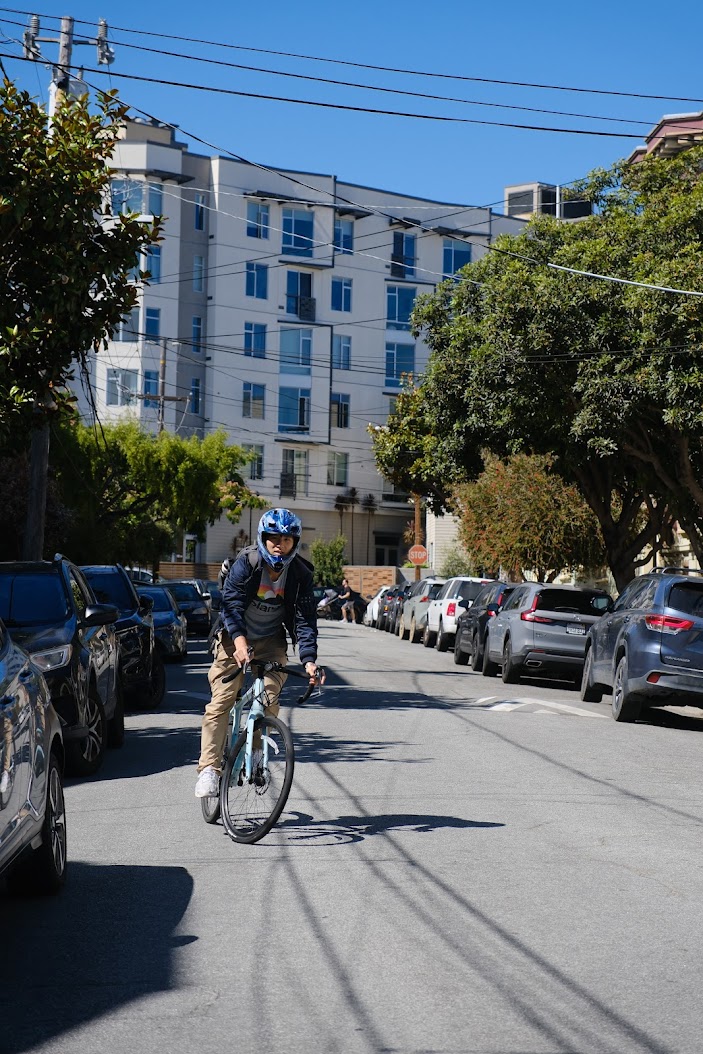
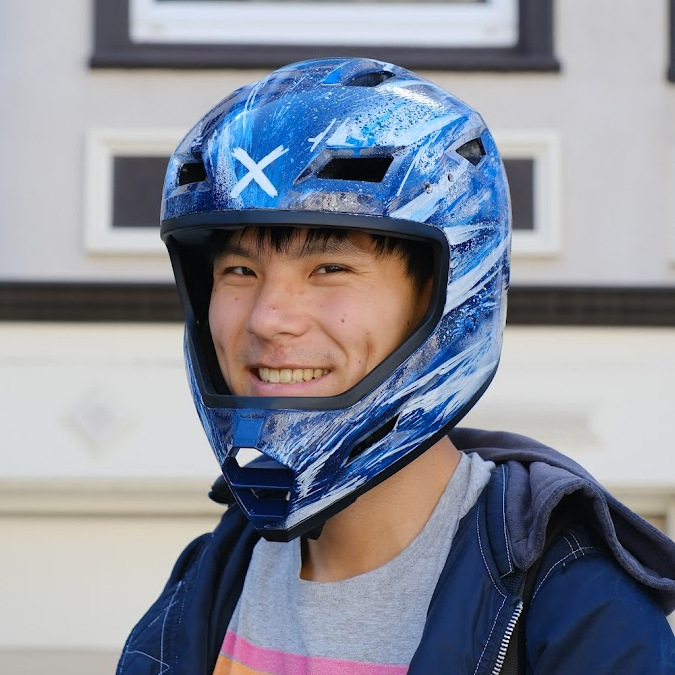
Thank you to Aliris for taking these photos for me
Notes For Next Time
Next time I do this, I should order better spray paint can tips and finer tip acrylic markers. Specifically:
- The default spray paint nozzles are not precise enough. I ordered some custom tips — to use for next time I guess.
- I want the marker to be more like a pen — 100% opacity paint, and a fine tip.
- I only did 3 clear coats this time — next time I would bias for maybe 4 or 5.
- If I had access a larger garage, I would do it there. I ran into an issue where the clear coat started to absorb/capture the moisture of the SF air at night, and was clouding up. I luckily ran upstairs and grabbed a blow dryer and forced the moisture out. It was such a relief to see the clouding get evaporated out in real time.
Appendix:
Here is some articles I found about waiting before spraying clear coat.